
Analyzing Your Lifts: How to Use Video Feedback to Improve Technique
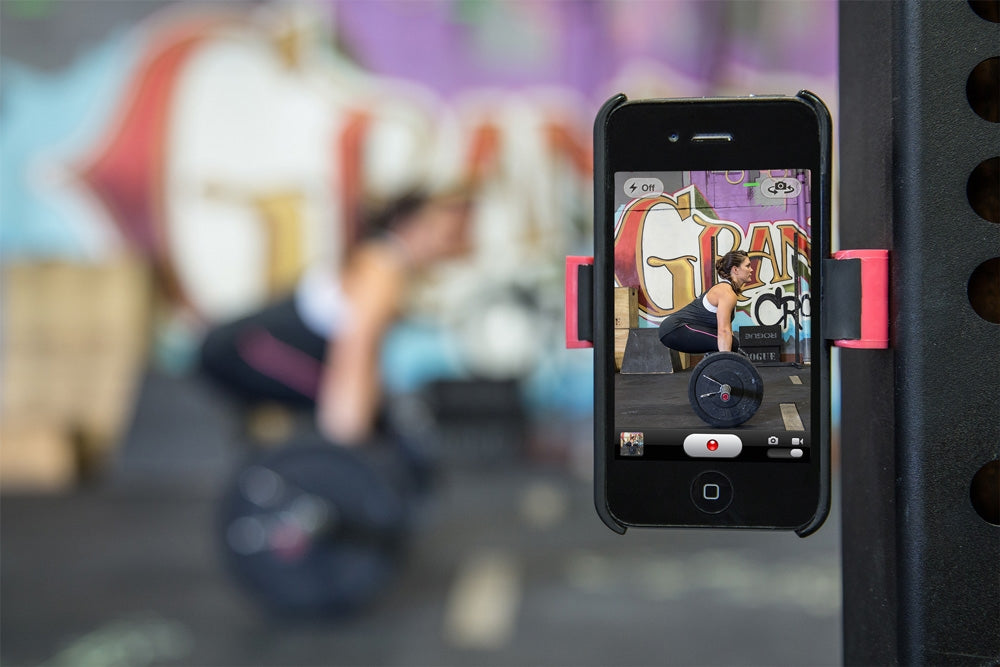
In powerlifting, how a lift feels and how it looks can be two completely different things. You might feel strong and stable, but video footage could reveal a subtle technical flaw that's holding you back or setting you up for injury. Filming your lifts is one of the single most powerful, objective tools you have for technical improvement. This guide will teach you how to analyze your lifting videos to become your own best coach.
Why You Must Record Your Lifts
Relying on "feel" alone is a recipe for ingrained bad habits. Video feedback provides:
-
Objective Truth: It shows you what’s really happening, free from the bias of how you felt during the set.
-
Technical Diagnosis: It allows you to pinpoint specific issues like bar path deviations, loss of posture, or joint angle problems.
-
Progress Tracking: Comparing videos over time provides visual proof of your technical improvements.
-
Effective Coaching: It is essential for working with an online powerlifting coach, allowing them to provide precise feedback.
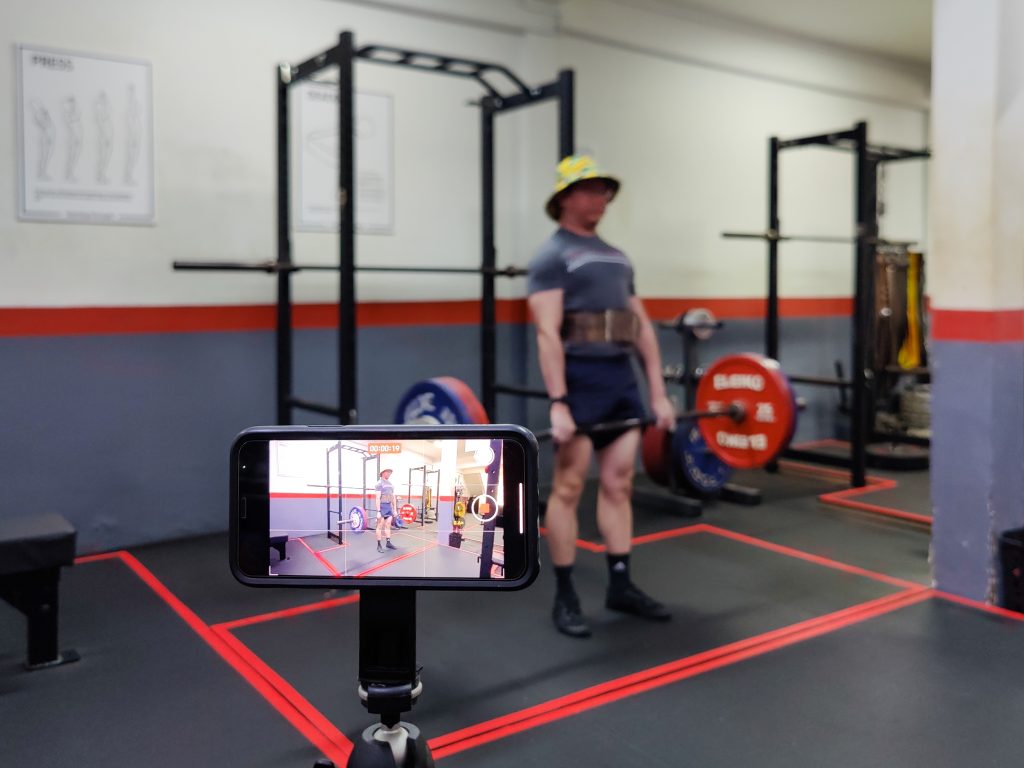
Setting Up the Shot: The Best Camera Angles
For effective analysis, you need consistent, clear angles. A simple phone tripod is a great investment.
-
Squat:
-
Angle 1 (Side/45-Degree Rear): The most important angle. Place the camera to your side and slightly behind you, at hip height. This angle is perfect for checking squat depth, bar path, and back angle (forward lean).
-
Angle 2 (Direct Rear): Useful for checking for any hip shift or unevenness between your left and right sides.
-
-
Bench Press:
-
Angle 1 (Side/45-Degree): Position the camera at bench height, halfway between your shoulder and hip. This angle is ideal for analyzing bench press bar path, elbow tuck, and any butt lifting.
-
-
Deadlift:
-
Angle 1 (Direct Side): Place the camera directly to your side, at mid-shin height. This is the best angle for analyzing back position (rounding), hip height at the start, and bar path.
-
Angle 2 (45-Degree Front): Can be useful for checking your setup and ensuring your shoulders are correctly positioned over the bar.
-
What to Look For: A Lifter's Analysis Checklist
Once you have your video, use your phone's slow-motion feature to break down the lift. Look for these key points:
Squat Analysis
-
Bar Path: Does the bar travel in a relatively straight vertical line over your mid-foot? Or does it drift forward on the way up?
-
Depth: Is your hip crease clearly below the top of your knee at the bottom? As per IPF rules, this is mandatory.
-
Back Angle: Does your chest and back angle remain consistent? Or do your hips shoot up first, causing you to "good morning" the weight?
-
Knee Position: Are your knees tracking in line with your feet, or are they caving inward (valgus collapse)?
Bench Press Analysis
-
Bar Path: Does the bar touch low on your chest/sternum and press up and back in a slight "J" curve towards your shoulders?
-
Elbow Tuck: Are your elbows tucked at a 45-75 degree angle, or are they flared out wide?
-
Points of Contact: Is your head, upper back, and butt staying glued to the bench throughout the entire press?
-
Wrist Position: Are your wrists relatively straight, or are they bent back excessively?
Deadlift Analysis
-
Starting Position: Are your hips at the correct height? Is your back flat and neutral before you initiate the pull?
-
Back Rounding: Does your back, particularly your lower back, stay neutral throughout the lift, or does it round as the bar leaves the floor? A great resource for identifying this is Stronger By Science's guide on deadlifting.
-
Bar Proximity: Does the bar stay in contact with or very close to your shins and thighs all the way up?
-
Lockout: Do your hips and knees lock out simultaneously, or do your hips come through late?
Tools for Deeper Analysis
-
Coaching Apps: Apps like Coaches Eye or Hudl Technique allow you to draw lines, measure angles, and compare videos side-by-side.
-
Community Feedback: Posting a form check on a knowledgeable forum (like Reddit's r/powerlifting) can provide valuable outside perspectives.
-
Compare to the Pros: Watch videos of elite lifters with similar body types to yours and compare their technique to your own.
Making video analysis a regular part of your training routine is a habit that separates good lifters from great ones. It takes the guesswork out of technical improvement and empowers you to make targeted, effective changes. Stop guessing what your form looks like—grab your phone, hit record, and start the journey to mastering your technique.
What is the most valuable insight you've gained from analyzing your own lifting videos? Share it in the comments!


